 English
 Intro Part 6
This is Part 6 of a series of tutorials on creating an interactive SVOYA interior with WebGL/PlayCanvas.
For those who haven't read the previous parts, here's a demo video.
In this series of tutorials, we will make an interactive interior presentation that can be viewed in real time through a web browser.
Access to materials, such as: models in the "FBX" format, baked textures and more, you can get by subscribing to Patreon.
Patreon - 3DGROUNDAdding Models to the Scene
So, our textures are baked. The texture name contains the name of the model and the postfix "Corona_Beauty". In the "Bake to Texture" settings, we didn't really change anything.

Export2Playcanvas export script
I wrote a script that optimizes the process of exporting models to the "FBX" format. The script code is attached below, in order to download it, scroll through the code block, right-click on "view raw", then "Save link as...". To run the script, drag the downloaded "Export2Playcanvas.ms" file into the "Viewport" of the 3Ds Max program.
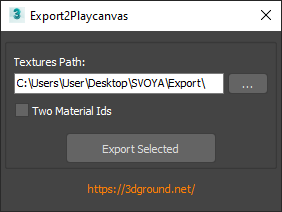
This is what the script looks like when run in 3Ds Max.
Features:
- Automatically configure "FBX" exports to include "EmbedMedia"
- Remove current object materials and create a new "Standard" material with special settings
- Automatically adding textures to the "FBX" package
- Removing unnecessary "IDs" objects
- Moving the second Unwrap scan channel to the first and then removing the second channel
- Collapsing all stacks
- Quick export to "FBX"
- Proper naming of export files
Of course, you can export manually, but to save time, it is convenient to use the Export2Playcanvas script.
Using the Export2Playcanvas script
Drag the "Export2Playcanvas.ms" script into the "Viewport" of the 3Ds Max program, select the "Textures Path" path where you have your baked textures.
Important!
For each model, a texture with the name of the model and the postfix "Corona_Beauty" must be baked!
If the texture for the model is not found during export, you will not be able to export it. You will be notified about this by a notification with an error.
Select the model, click "Export Selected". Models are exported one at a time. After export, a "FBX" file will be created in the "Textures Path" folder.
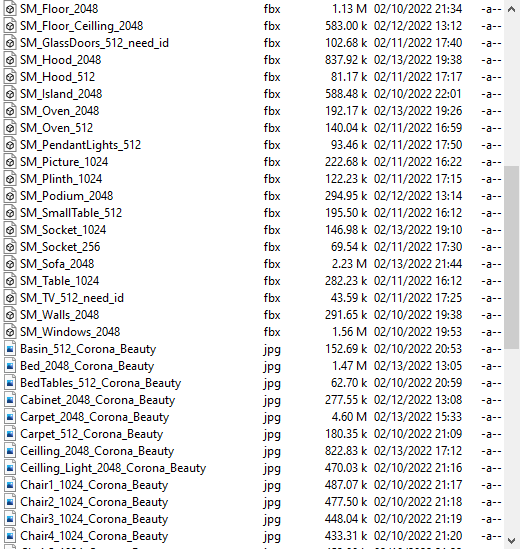
Above is an example of what the list of files looks like after export.
Under "the hood" the following actions take place in the script:
- For "FBX" the "EmbedMedia" option is enabled, which allows you to avoid manually adding textures to Playcanvas
- The "Standard" material is created, since Playcanvas understands some of its settings
- An automatically baked texture is added to the "Standard" material, which the script finds itself
- The baked texture is added to the "Self-Illumination" slot and the material will not need to be changed in the Playcanvas if it has no glare, there will be no lighting in the Playcanvas scene.
- Extra Unwrap channels are removed, to save weight "FBX" files
- Extra "Material Id" are removed >
- All modifier stacks are collapsed
- The correct "FBX" names are assigned and the prefix "SM_" is added
- Files are exported in "silent" mode, without pop-up windows
I recommend exporting the models one at a time and then adding them to the Playcanvas scene right away. Thus, you can immediately see if a mistake was made at any of the stages.
Export models
Before exporting, I copied all the objects into a new scene using the CopyTo PRO script. You can "Merge" or transfer objects in any other way.
CopyTo PROA new scene is needed in order not to spoil the current one.
For almost all models, export will occur through a script with default settings.
I have objects in the scene, these are "TV", "Oven" and "GlassDoors", which require "Multimaterial" and when exporting them, you need to enable the "Two Material Ids" checkbox in the script . This will create a "Multimaterial", in the first slot there will be a material with our baked texture, and in the second slot, just a regular material, which will be replaced with glass in the Playcanvas.
Since, in my case, more than two "IDs" were not needed for materials, I implemented exactly this functionality in the script.
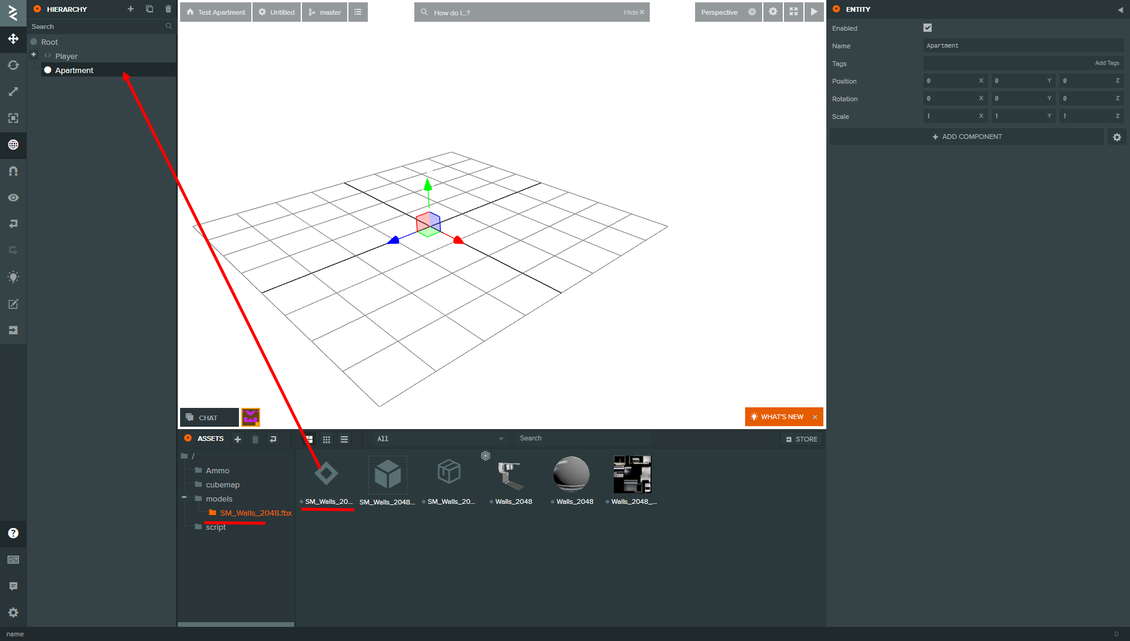
I started exporting from walls, ceilings and windows. As described above, select the model, press "Export Selected". Drag the exported "FBX" to the "Assets" panel in the "models" folder.
I created a separate "Entity" named "Apartment" and started adding models.
We continue to export other objects, carefully, one by one, and add them to the Playcanvas. As long as we don't touch the materials.

We fill the scene, remember about the objects that need to enable the "Two Material Ids" option - these are "GlassDoor", "Oven" and "TV". Previously for these objects, I reassigned "ID" to "EditablePoly" in the temporary scene and for all glass elements I set "id": 2.

As you can see from the screenshot above, I used the filter in the "Assets" panel for the "Template" objects and I'm looking for the model I just added in the search. When the list of models grows, this is the most efficient way.

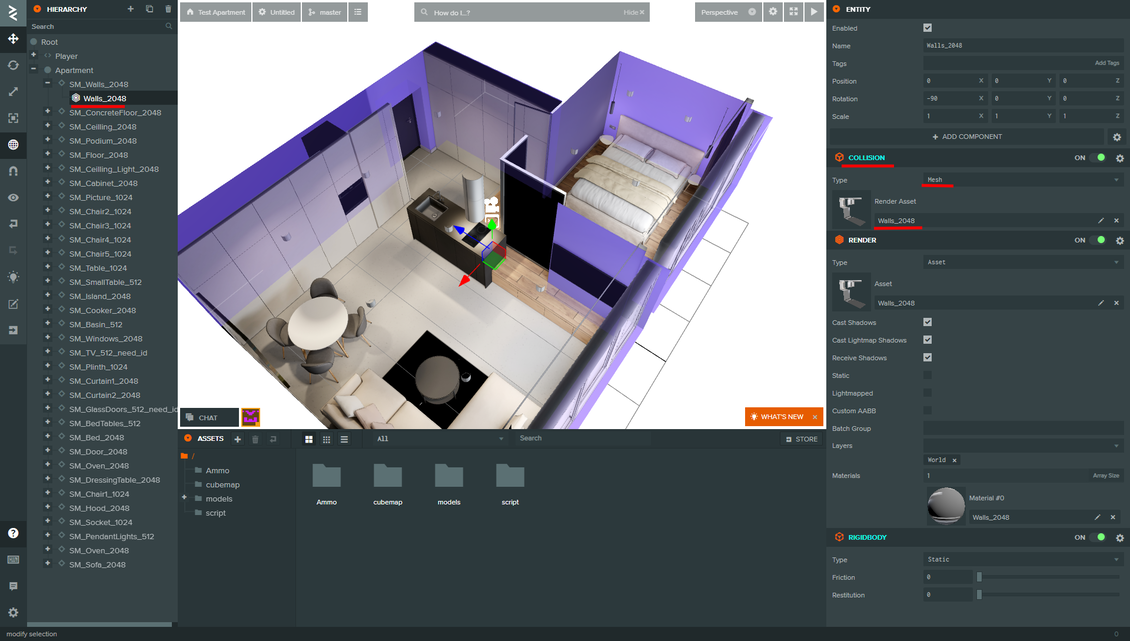
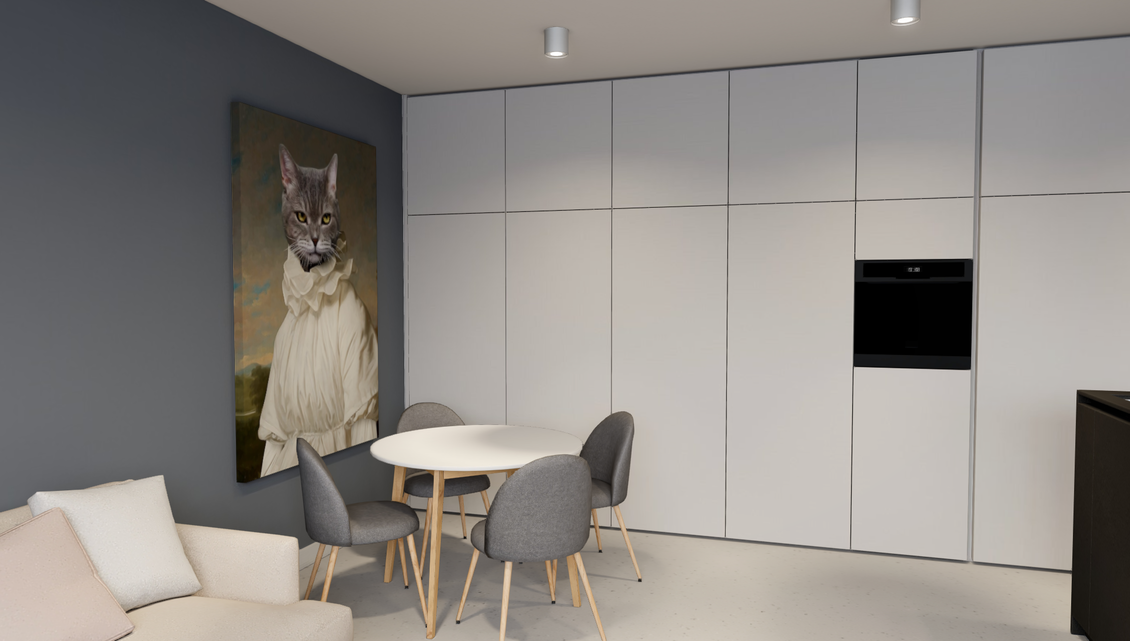
All models have been added. Even in "Editor", it already looks nice.
Setting Collisions
Now we need to adjust "collisions" so that we don't fall through walls and floors.
To do this, select "Walls", "Podium", "Cabinet" and "ConcreteFloor", add the components "RigidBody" and "Collision" to them.

Then expand each "Template, select "Asset Template", and for the "Collision" component, change the type to "Mesh", select the suggestive "Render Asset". See the example below with "Walls" .
Let's try to start the project by pressing the "Play" button.
Fine! We can move around the room and do not fall through the floor and walls.
There's only one problem left, we can't climb stairs since our "Player" can only move on flat ground.
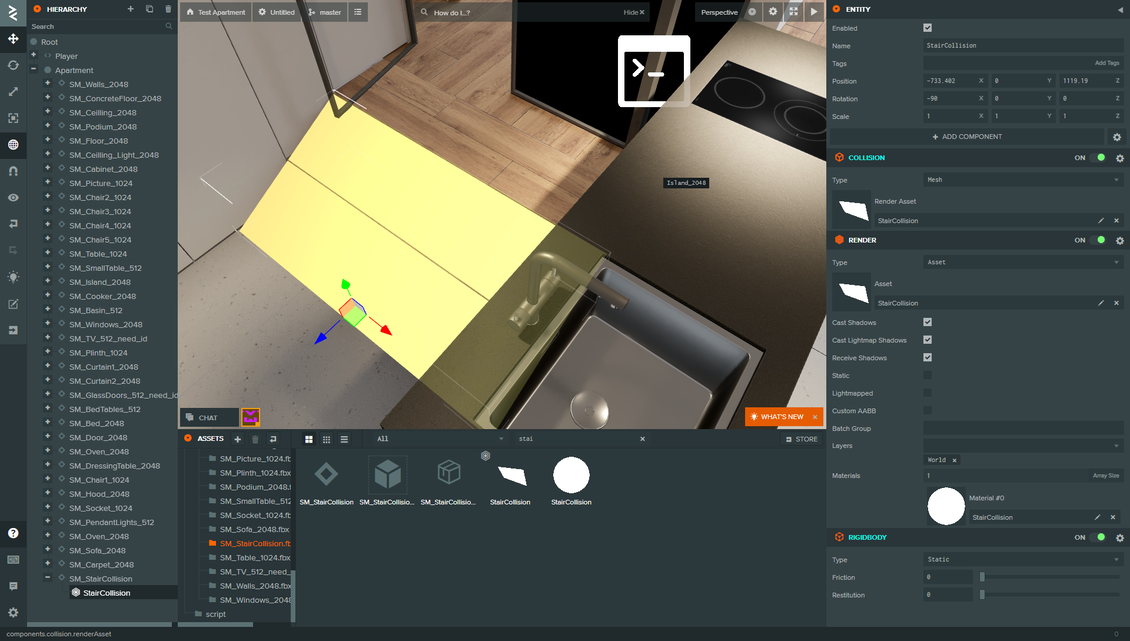
I created a "Plane" in 3Ds Max like in the picture below, this is the sloping surface on which the "Player" will "slip".

I exported and added Playcanvas to the scene, added "RigidBody" and "Collision" components, for "Collision" I chose "Mesh" type and advised "Render Assets".
Let's run the project again with the "Play" button, great, now we can go up the steps.
Checking textures
I noticed that after baking, some textures don't look good enough. For example, the "Cooker" texture looks like this even if you set the texture size to "2048px".
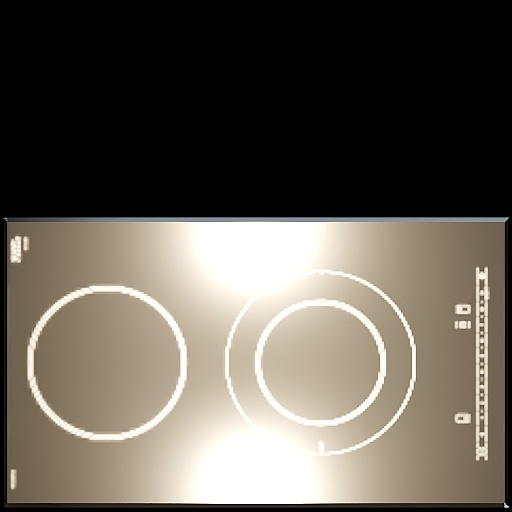
So I manually redrawn it in Photopea (Photoshop).

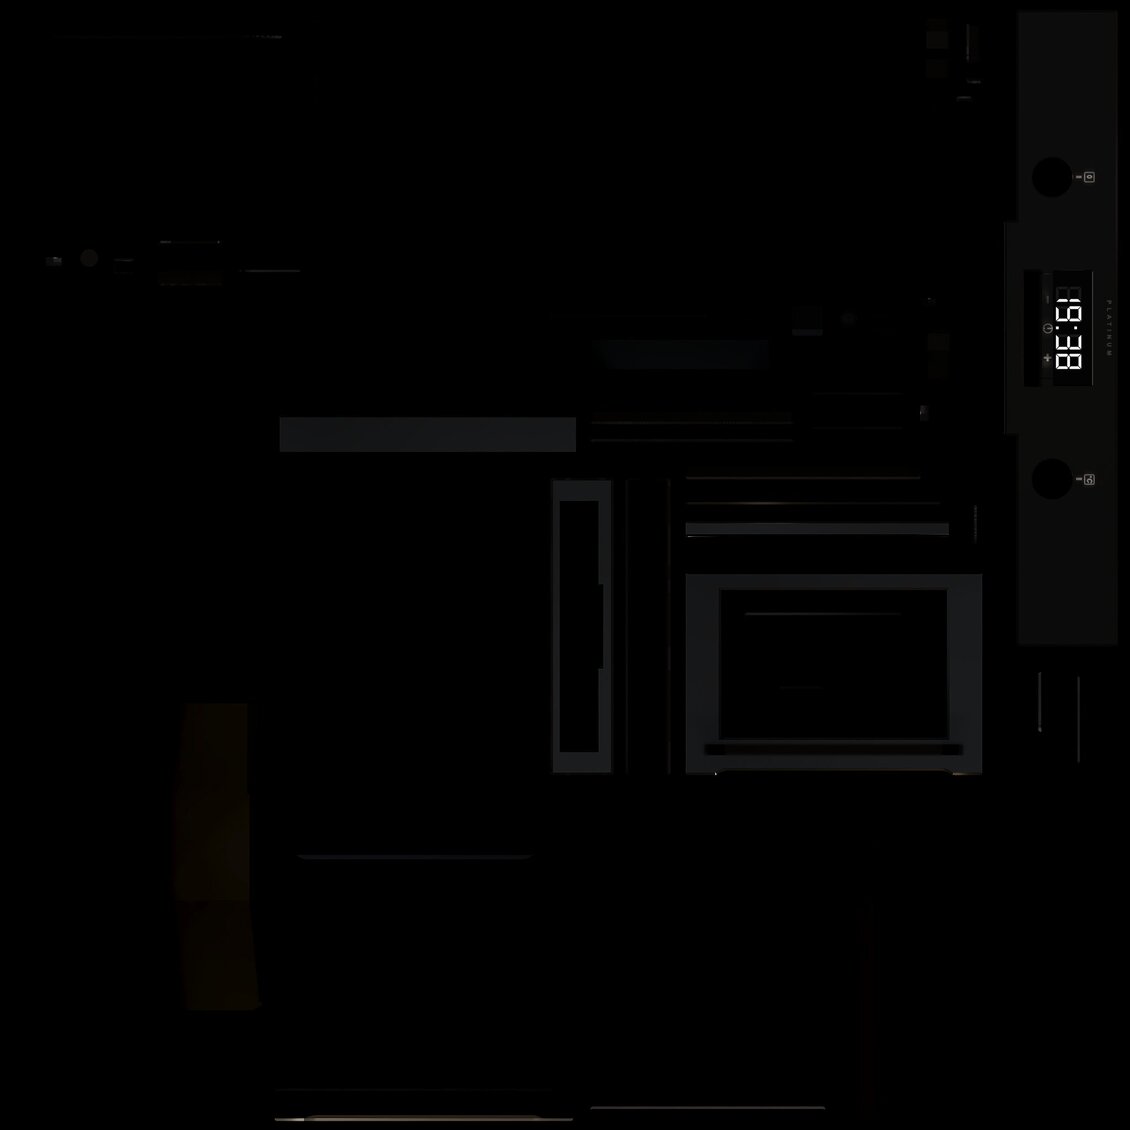
The "Oven" texture also baked badly. Some elements on the texture, such as a digital clock, were redrawn by hand.

After drawing.
There were no problems with the rest of the textures.
Exported the problematic objects to Playcanvas again, after deleting the old ones.
Conclusion
In this part, we did a big piece of work - added all the models, set up "collisions", fixed problematic textures and launched the project in test mode.
In the next part, we will come to grips with the materials.


{{comment.text}}