 English
 Intro Part 5
This is Part 5 of a series of tutorials on creating an interactive SVOYA interior with WebGL/PlayCanvas.
For those who haven't read the previous parts, here's a demo video.
In this series of tutorials, we will make an interactive interior presentation that can be viewed in real time through a web browser.
Access to materials, such as: models in the "FBX" format, baked textures and more, you can get by subscribing to Patreon.
Patreon - 3DGROUNDProject setup in Playcanvas
If you are not registered with Playcanvas, you can easily do so on their website.
PlaycanvasCreate a new "Blank Project", then open "Editor".

Settings
Go to settings.
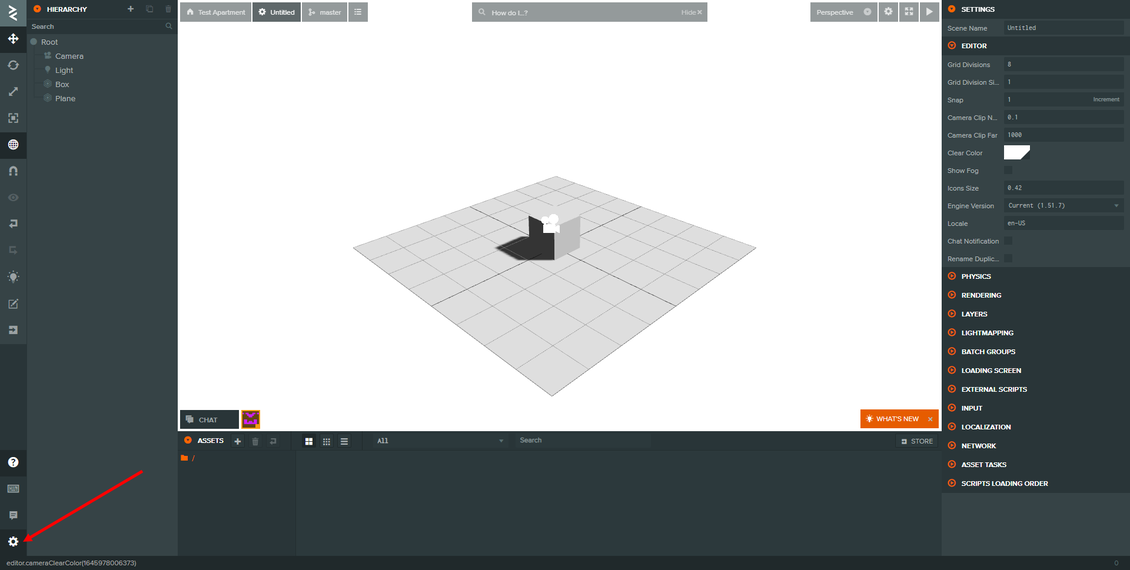
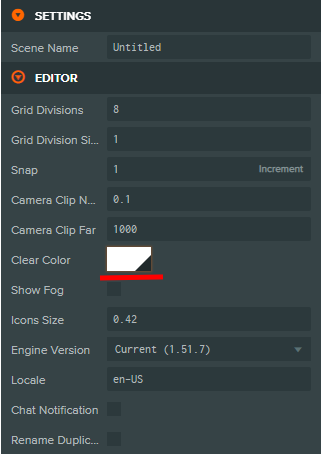
Settings "Editor".
In "Physics", click "Import Ammo". After that, you will create a folder "Ammo" in "Assets".

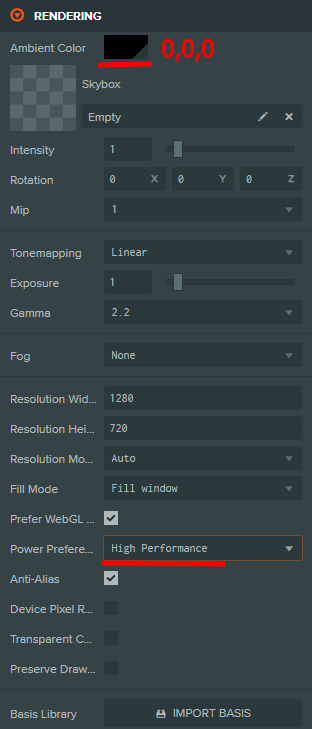
Settings "Rendering".
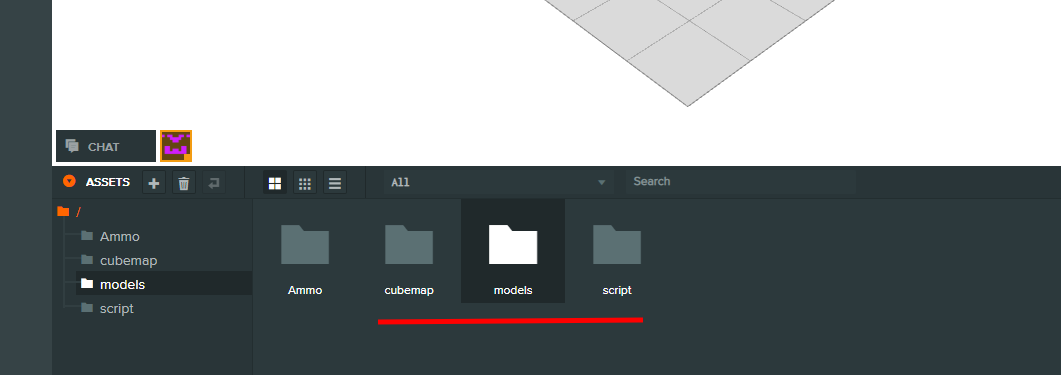
Assets
Create the following folders under "Assets".
Go to "Store".

In "Store", sort content by "Script" tag.

And add the following scripts to the project: "FXAA Post Effect", "Bloom Post Effect", "Vignette Post Effect", "Brightness/Contarast Post Effect". Then in "Assets", move them to the "script" folder.

Player
Remove "Box", "Camera", "Light" and "Plane" from the scene. Create a new "Entity" named "Player". This "Entity" will move around the scene, respond to "collision" objects and we will have a view from the first person.

Create a new camera in "Player"
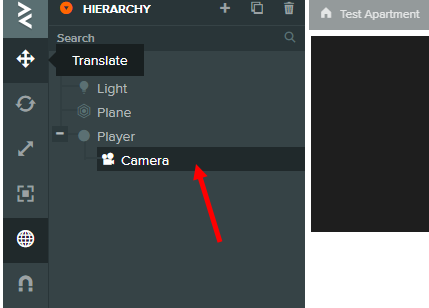
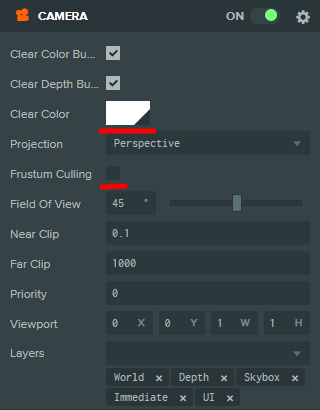
Make the following camera settings.

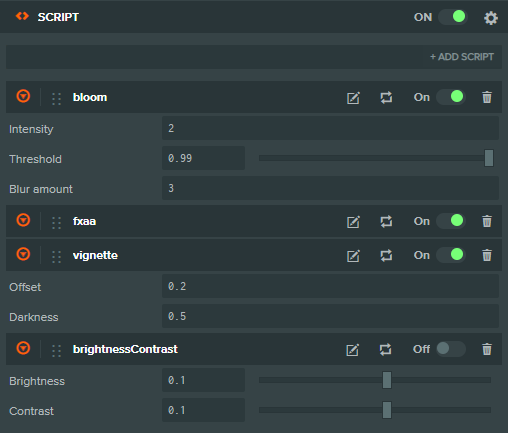
Add the "Script" component to the camera and add the scripts: "bloom", "fxaa", "vignette", "brightnessContrast". With the following settings.
Now for "Entity" - "Player", add two components: "Collision" and "RigidBody". With the following settings.

Then I took the "First Person Movement" script from the Playcanvas official manual page.
https://developer.playcanvas.com/en/tutorials/first-person-movement/And I adapted the code a bit so that the mouse cursor does not disappear. I have attached the code for this script below. You can use it.
Load the script into Playcanvas, drop it into the "script" folder. Assign "Entity" - "Player" a new component "Script", in which we select "firstPersonMovement".
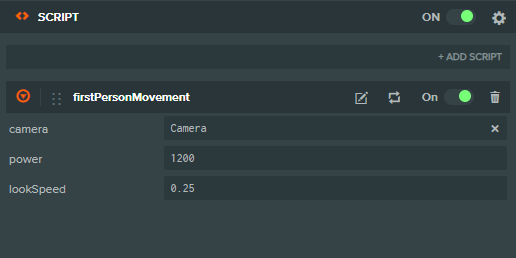
Specify the settings as in the screenshot above. Don't forget to specify "camera" parameter which is "Entity" - "Camera" which we created in "Player".
Cubemap
Add "cubemap" which will be used for highlights. Click "Store", sort by "Skybox" tag and add "Golden Hour Helipad HDR Cubemap" to your project.

Move the added files from the "Assets" root to the "cubemap" folder.
Conclusion
In this part, we've done the hard work of setting up the scene and the "Player" while our textures are already baked. In the next part, we will add models to the scene and set up some materials.


{{comment.text}}