 English
 Intro Part 7
This is Part 7 of the tutorial series on building a Lamborghini Urus with WebGL/PlayCanvas.
For those who haven't read the previous parts, here's a demo video.
In this part of the tutorial, we will add the rest of the objects and set up materials for them.
Access to materials such as "FBX" models, textures, "AO" baked maps and more, you can get by subscribing to Patreon.
Patreon - 3DGROUNDRear Trunk
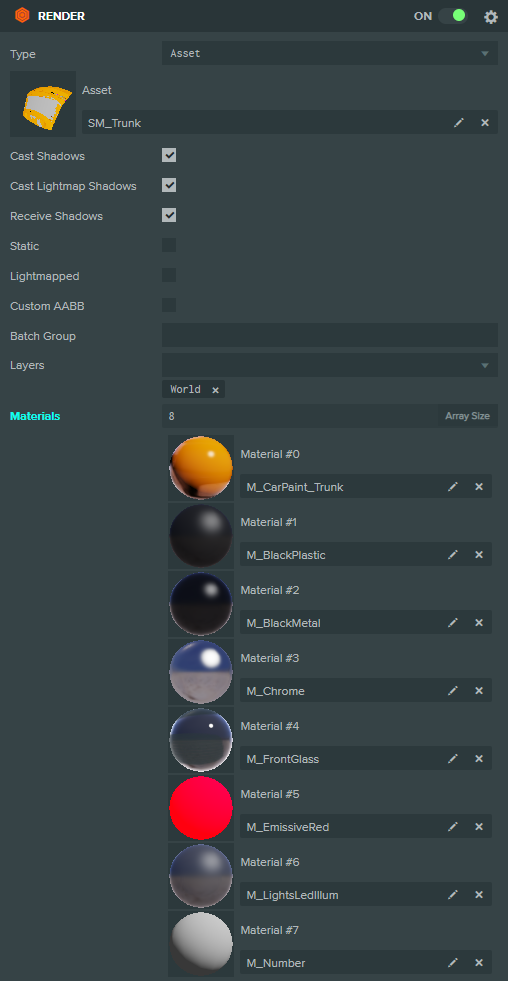
Let's add an object to the "SM_Trunk" scene, by analogy with the previous part of the lesson. Drag the "FBX" file to the "Assets" panel → "car". Then drag the "Template" named "SM_Trunk" to the "Hierarchy" panel → "Car".

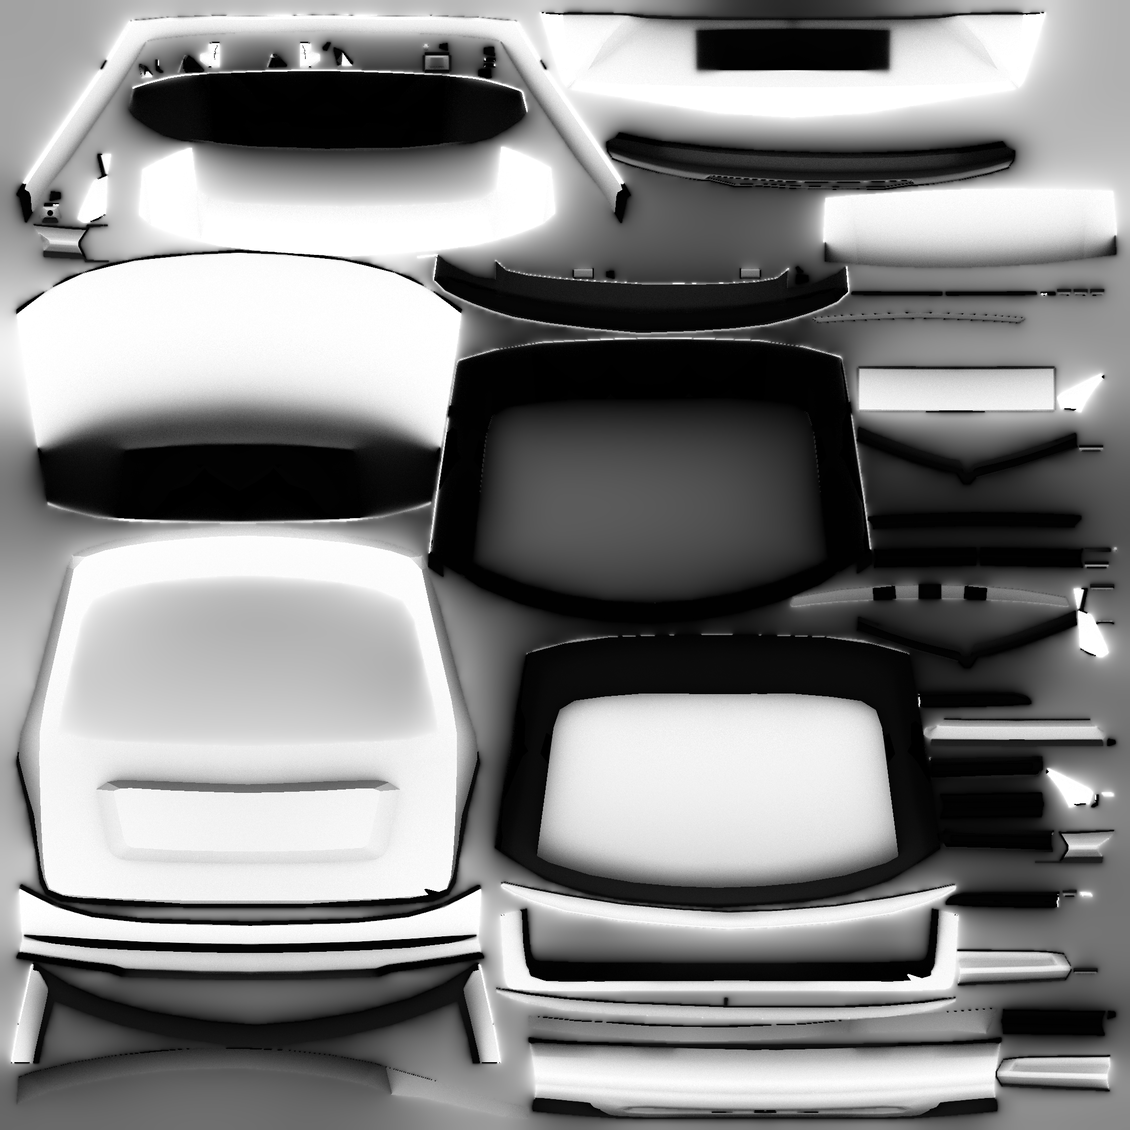
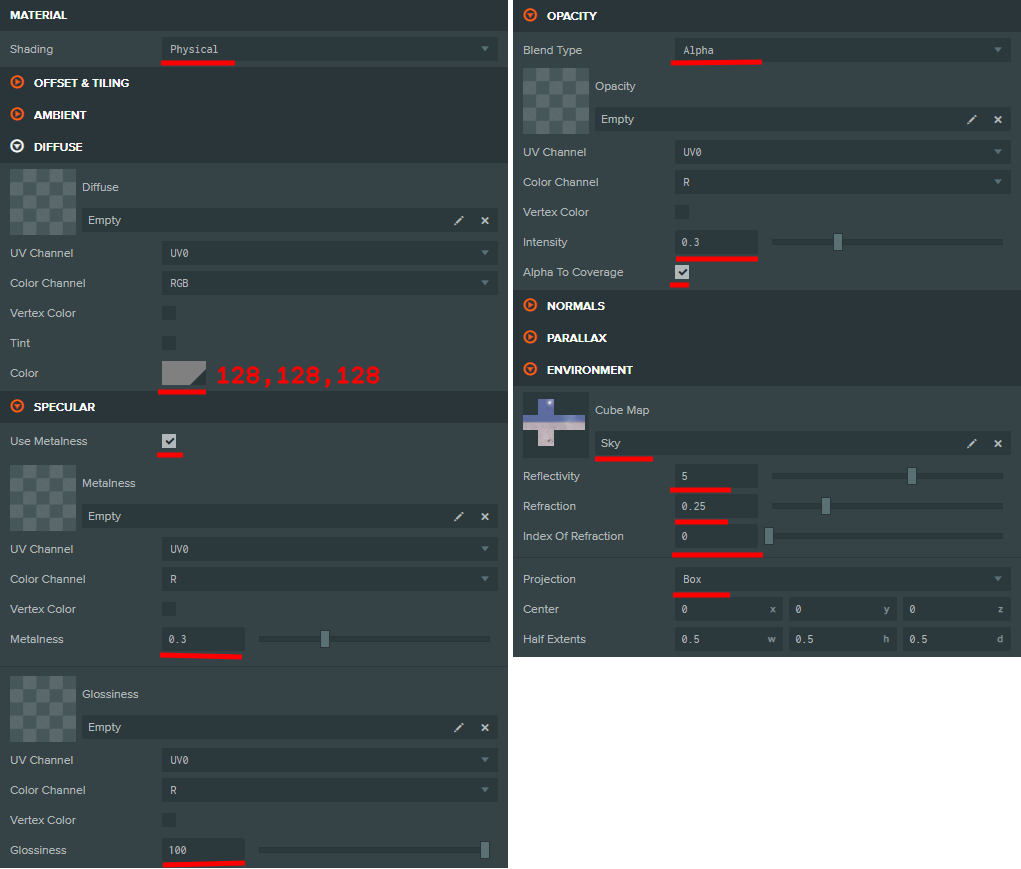
The "M_CarPaint_Trunk" material is a copy of the "M_CarPaint_Exterior" material, only with a different "AO" texture prepared in advance "T_Trunk_AO".
All other materials are taken from ready-made.
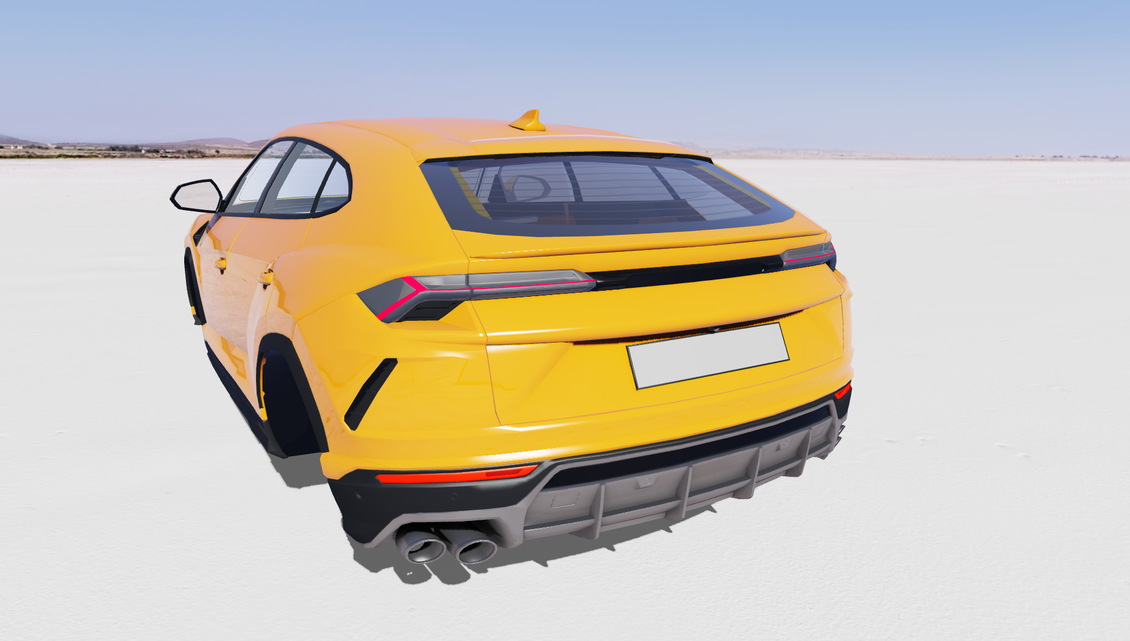
Result
Headlights
Add "SM_Lights" to the scene by loading "Assets" → "car", then dragging the "Template" named "SM_Lights" to the "Hierarchy" panel → "Car".

For the first and third slots, we will use ready-made materials "M_LightsLedIllum" and "M_BlackPlastic", we will create the rest of the materials from scratch.
Material HeadLight_Glass

Material ChromeClearDark


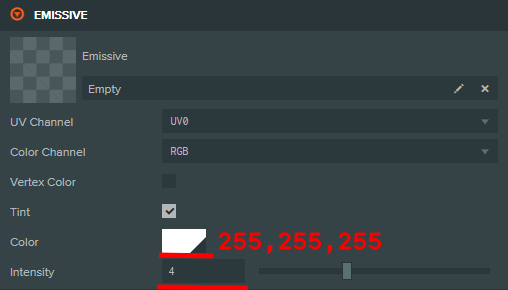
Material EmissiveWhite

Result

Wheels
Add "SM_Wheels" to the scene by loading "Assets" → "car", then dragging the "Template" named "SM_Wheels" to the "Hierarchy" panel → "Car".


Material WheelTireBump

Material WheelAluminum


Material BlackMetal
We take this material from ready-made.
Material Brake


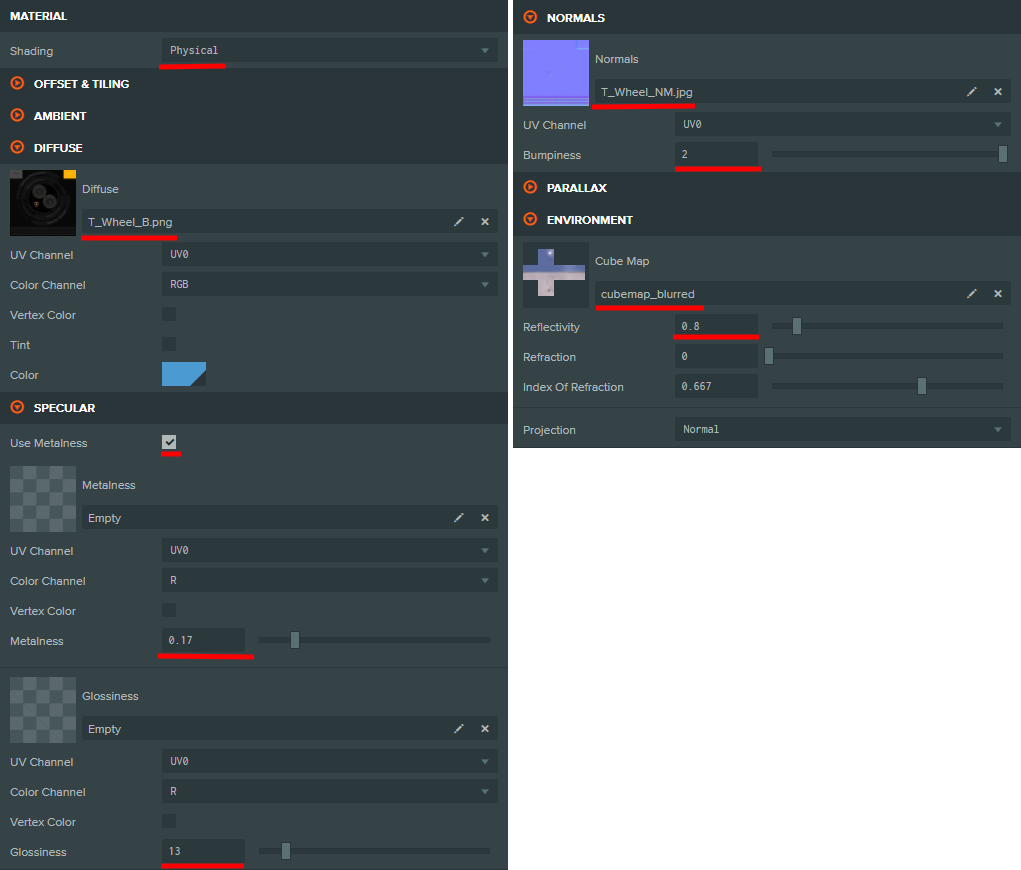
Material WheelBrakeDisk


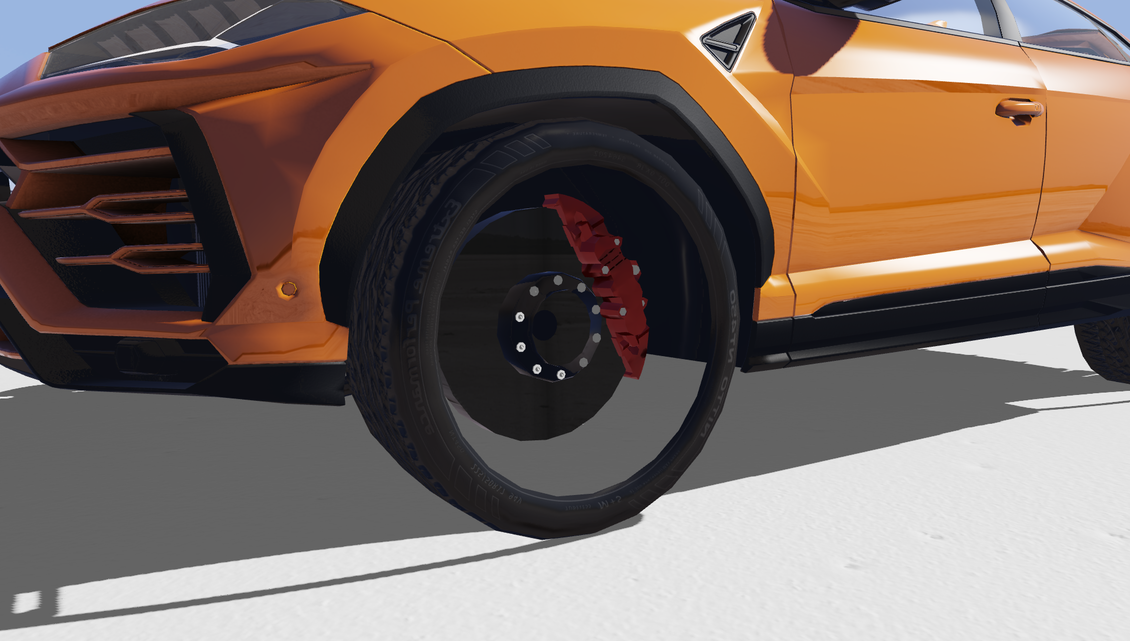
Result
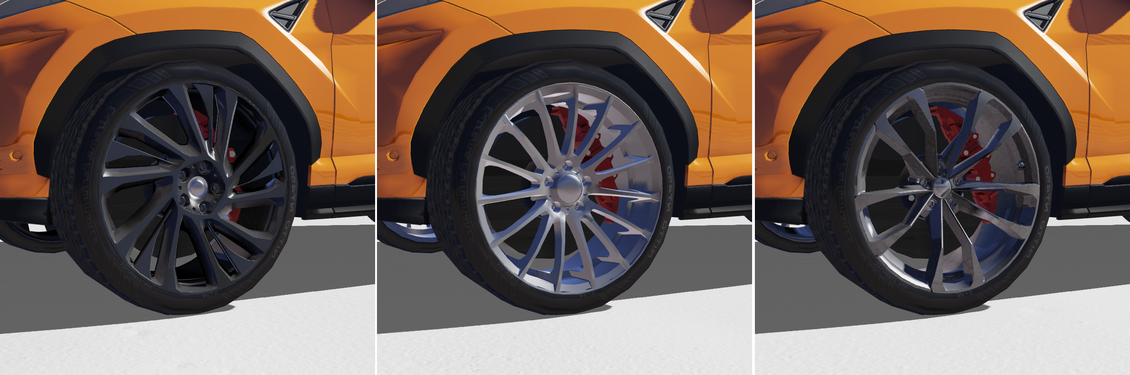
Disks
Let's create a new "Entity" named "Discs" in "Car".
Let's add three variants of disks "SM_WheelDisc_1", "SM_WheelDisc_2" and "SM_WheelDisc_3" to the scene by loading "Assets" → "car" into the panel, then dragging the corresponding "Template" onto the panel " Hierarchy" → "Car" → "Disks".

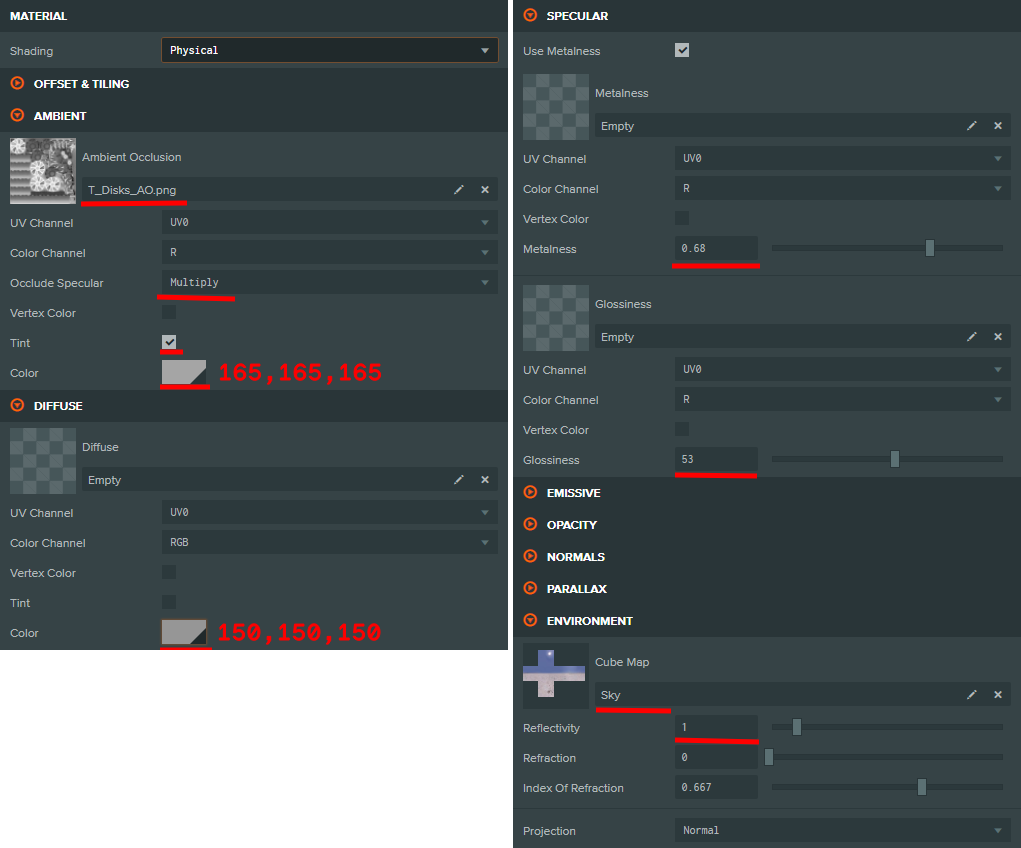
Material Disc1

Here we will only create the "M_Disc1" material. "M_Chrome" we will take from ready-made ones.


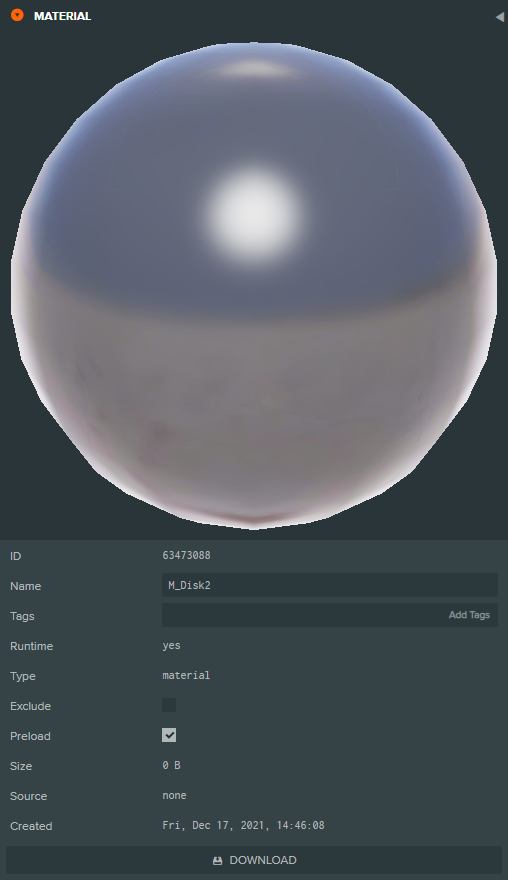
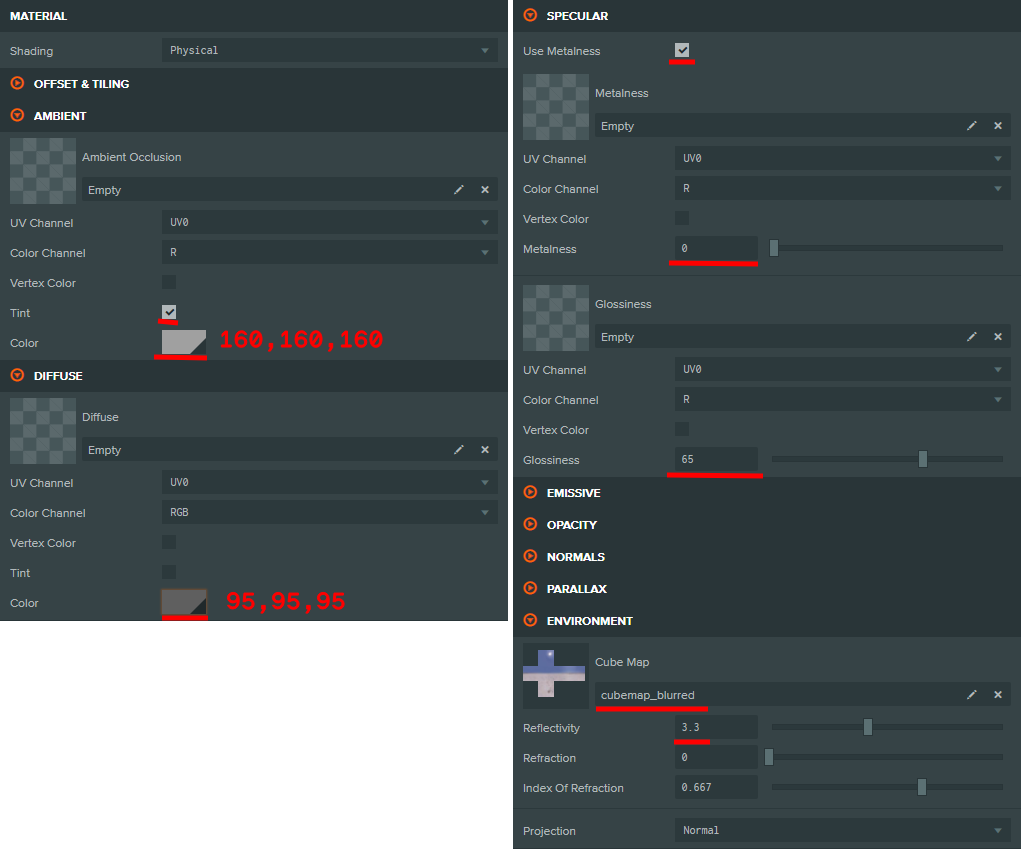
Material Disc2
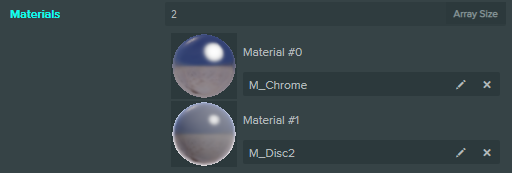
Here we will only create the "M_Disc2" material. "M_Chrome" we will take from ready-made ones.
Material Disc3


Result
Conclusion
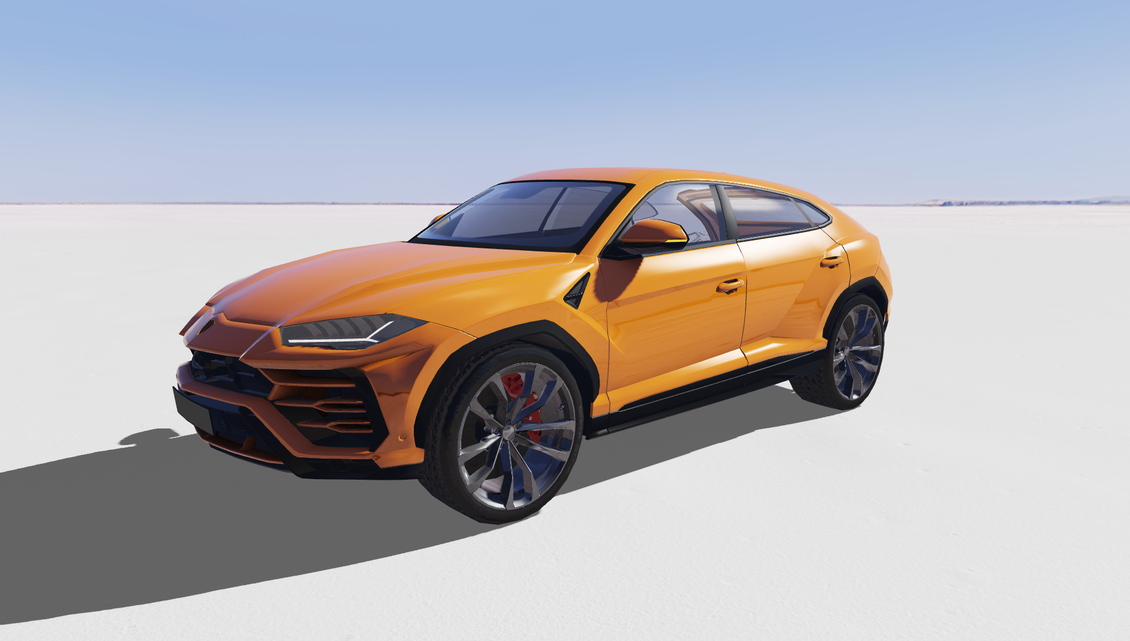
In this part of the tutorial, we have done a lot of work on adding almost all the objects and setting up their materials. In the next part, we will add the interior of the car and we will smoothly move on to creating interactivity.


{{comment.text}}