 English
 Intro Part 6
This is Part 6 of the tutorial series on building a Lamborghini Urus with WebGL/PlayCanvas.
For those who haven't read the previous parts, here's a demo video.
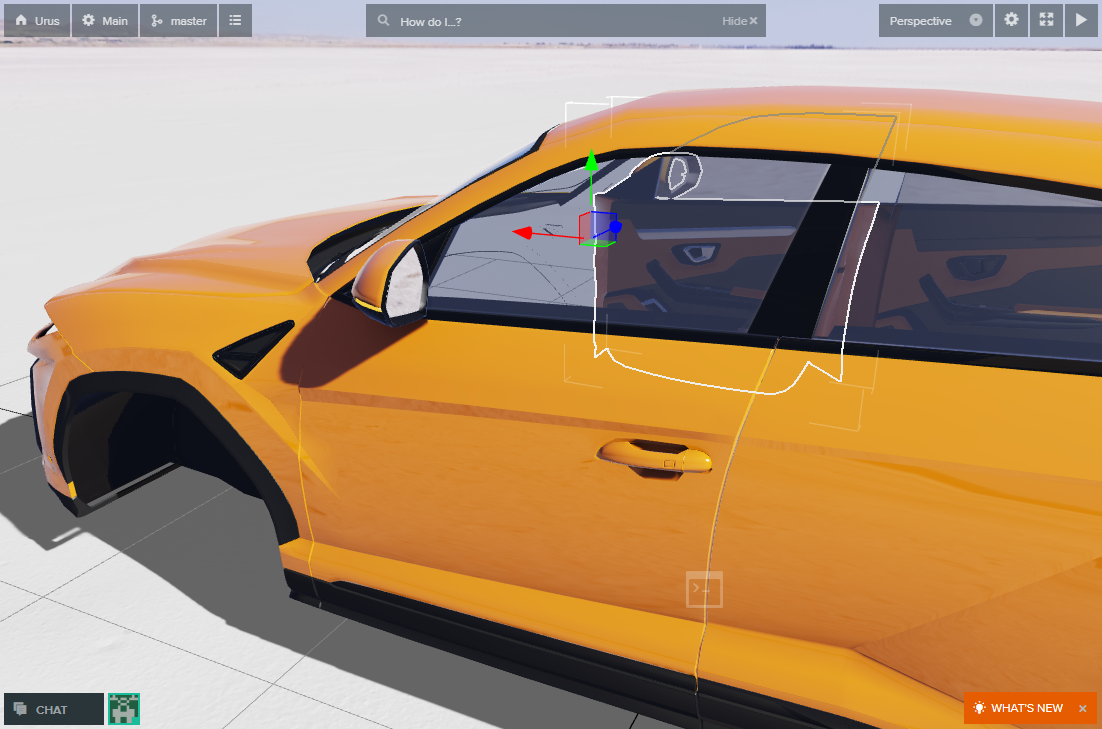
In this tutorial, we will add front doors to the scene. Set up materials for all new objects.
Access to materials, such as: models in the format "FBX", textures, baked maps "AO" and more, you can get by subscribing to Patreon.
Patreon - 3DGROUNDAdding doors
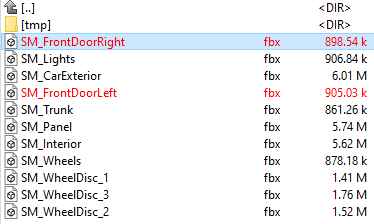
By dragging and dropping into the "Assets" panel → "car", add two new objects "SM_FrontDoorRight" and "SM_FrontDoorLeft".
Let's add door objects to the scene. Drag the "Template" doors into the "Car" Entity. If you did everything right, the doors will fall into place.

Customizing door materials
Nine material slots are available for doors. We will use some materials from those that were created earlier.

CarPaint Material

Take the previously created "M_CarPaint_Exterior" and make a duplicate. Let's name it as "M_CarPaint_Doors".
For "Ambient Occlusion" change the texture to "T_FrontDoorLeft_AO".

Assign "M_CarPaint_Doors" to "CarPaint" slot for both doors.

Duplicate content
Assign the previously created materials such as "M_BlackPlastic", "M_BlackMetal", "M_Chrome", "M_GlassWinds", "M_BlackLeather" and "M_Leather".
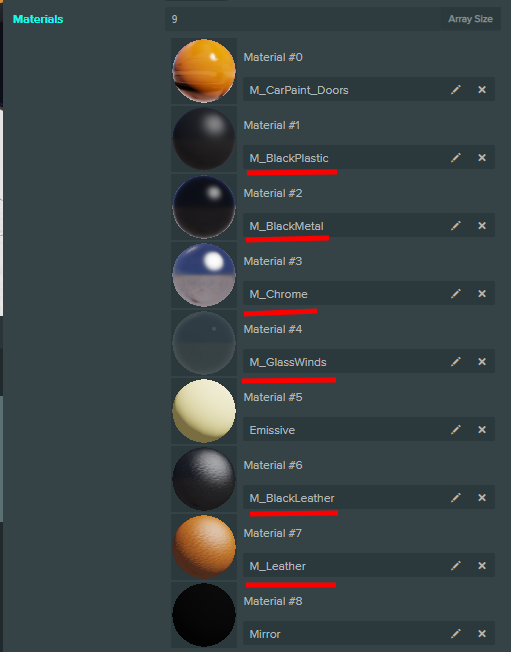
Fine. Almost all materials were ready and we did not have to create them from scratch. It remains to create the material of the mirror and turn signals.
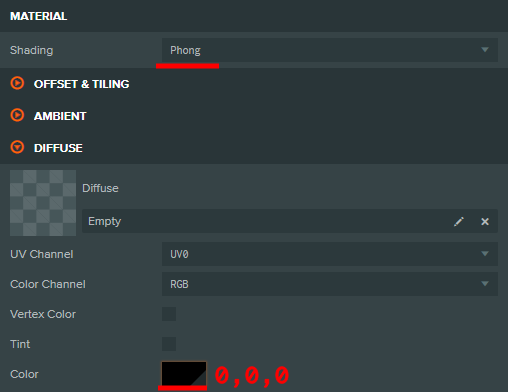
Material Mirror

Change the "Shading" mode to "Phong". For "Diffuse" set the color to black "0,0,0".
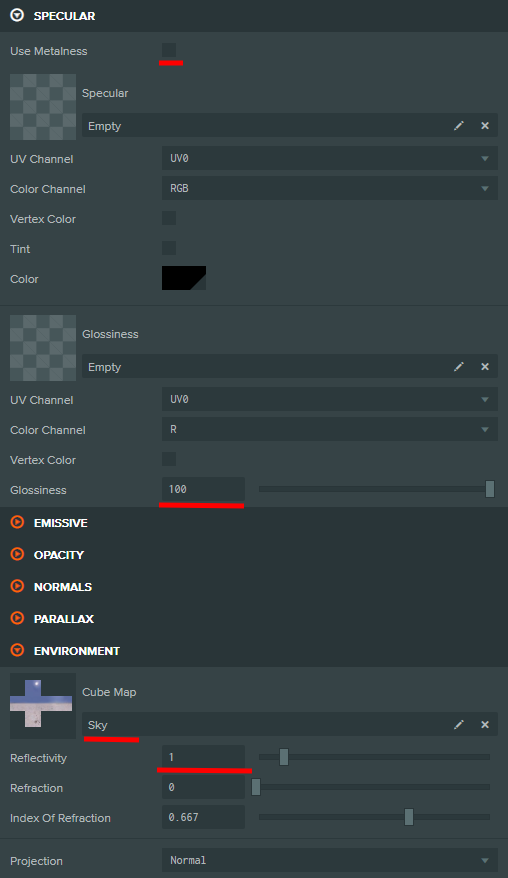
"Specular" and "Environment" settings are pretty simple. See screenshot.
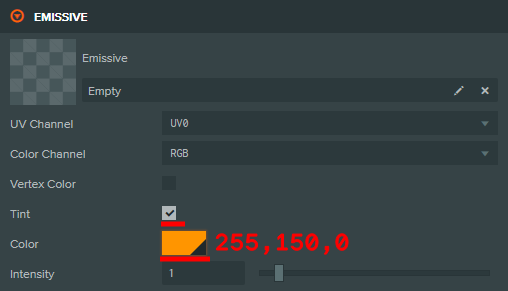
Material EmissiveYellow
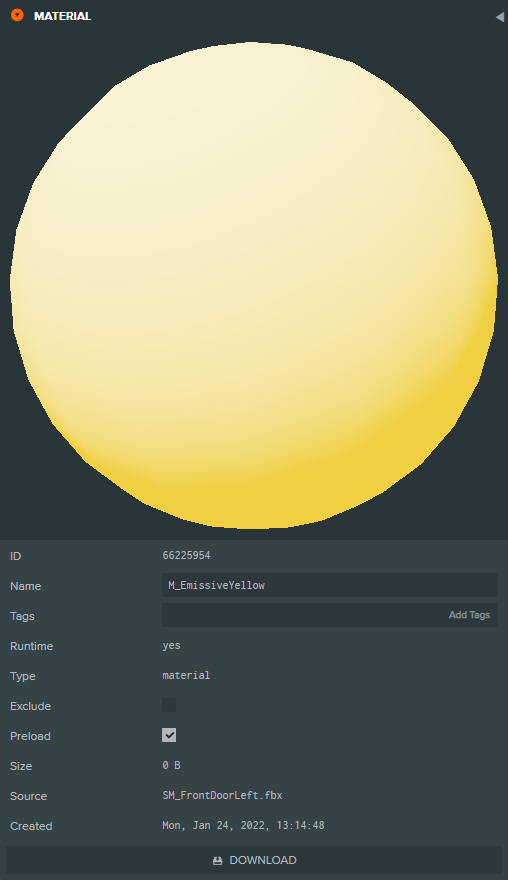
To adjust the material of the turn signals, you need to make the following changes.
Conclusion
In this part, we added door objects and quickly set up, due to the fact that most of the materials were already created earlier.


{{comment.text}}