 English
 Intro Part 5
This is Part 5 of the tutorial series on building a Lamborghini Urus with WebGL/PlayCanvas.
In the previous part, we figured out how to add geometry and set up materials.
For those who haven't read the previous parts, here's a demo video.
In this part of the tutorial, we will continue to set up materials for the "SM_CarExterior" object.
Access to materials, such as: models in the format "FBX", textures, baked maps "AO" and more, you can get by subscribing to Patreon.
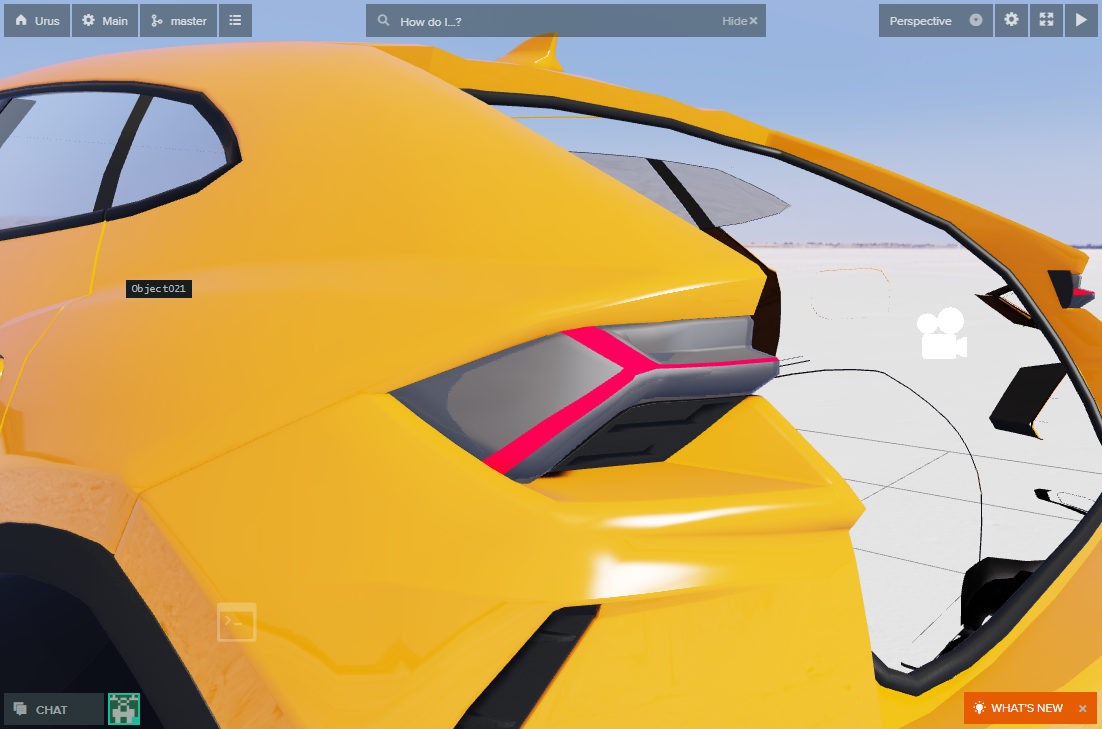
Patreon - 3DGROUNDSetting materials for "SM_CarExterior"
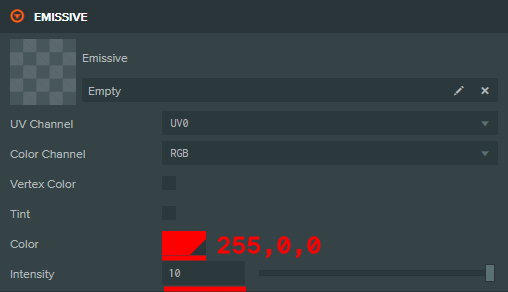
Material EmissiveRed

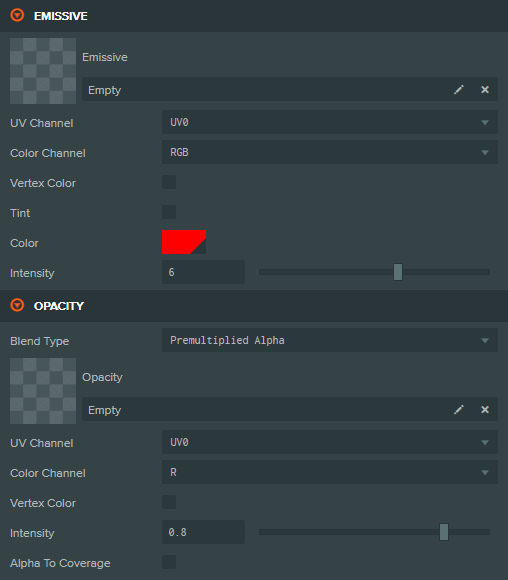
Material GlassRedLights


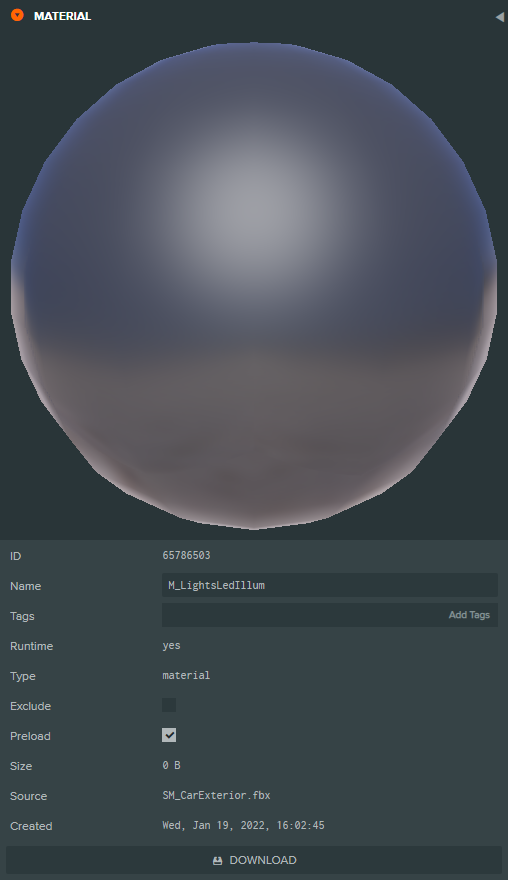
Material LightsLedIllum

Material BlackLeather

In this material, we select the mode for "Shading" with the value "Phong".
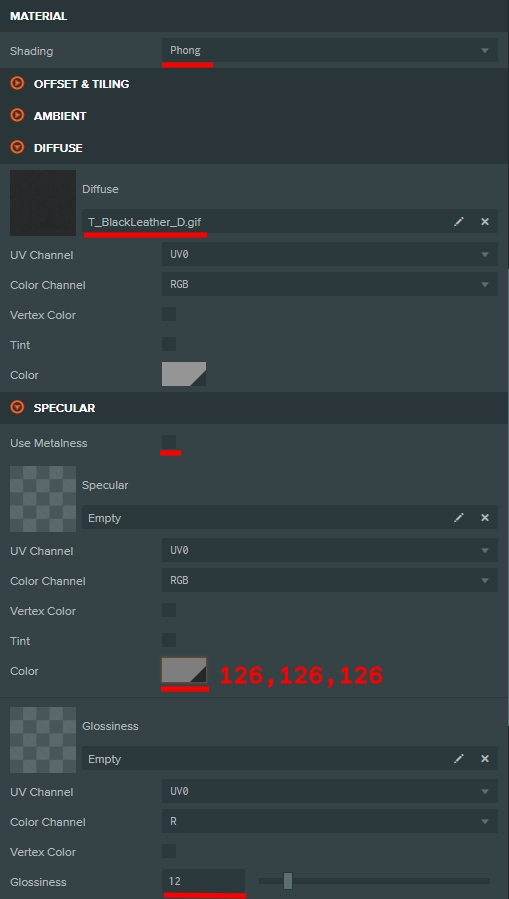
As "Diffuse" we use the "T_BlackLeather_D" texture.

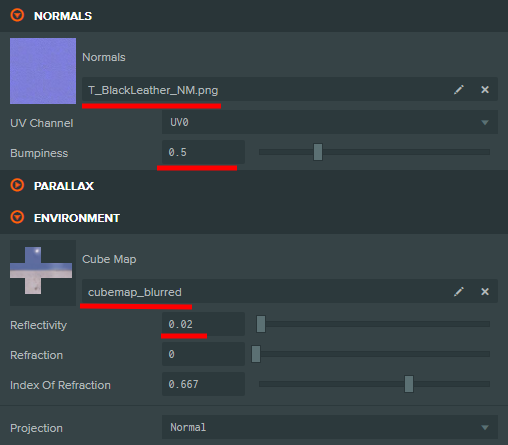
For "Normals" we use "T_BlackLeather_NM" texture.

Material Leather
This material is similar to the previous one, so I made a duplicate of the "M_BlackLeather" material by calling the context menu in the "Assets" panel - "Duplicate".
Then I renamed the material to "M_Leather" and used "T_Leather_D" as "Diffuse" texture.
And dragged this material into the ninth slot.

The door card of the rear doors began to look like this.

Material Number
You can edit this material yourself by adding a license plate texture. But in this example, we'll just leave the material unchanged.
Conclusion

The preparation of the car exterior is completed, all materials are set up. You can press the "Play" button and see how the exterior will look.
Well, in the next part we will continue to add various parts of the car.


{{comment.text}}