 English
 Intro Part 4
This is Part 4 of the tutorial series on building a Lamborghini Urus with WebGL/PlayCanvas.
In the previous part, we completely finished preparing the environment, figured out how to use JavaScript scripts, and also set up the basic light.
For those who haven't read the previous parts, here's a demo video.
In this part of the tutorial, we will figure out how to add geometry to the scene and go over the basic material settings.
I want to express my deep gratitude to the user Yana Melnichenko for preparing a 3D model of the Urus car. Melnichenko Yana is a top specialist in the field of GameDev and ArchViz for Unreal Engine. A lesson on how to prepare a 3D model - optimization, texture preparation, LightMap baking, etc. will come later and is up to you. Write a comment or such a lesson is needed.
I will also attach a link to Behance - Yana Melnichenko.
Behance - Yana MelnichenkoAdding Geometry to the Scene
We will not dwell on the description of the process of preparing a 3D Urus model. If you think that you need an addition to this lesson, write about it in the comments and together with Yana Melnichenko we will prepare such a lesson.
Access to materials, such as: models in the format "FBX", textures, baked maps "AO" and more, you can get by subscribing to Patreon.
Patreon - 3DGROUNDBelow is a list of pre-built Urus parts. All preparation took place in 3Ds Max, and then the necessary parts were exported to separate FBX files.
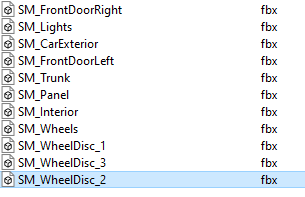
Items such as front doors, tailgate, three wheel options, wheels and interior should be separated into separate FBX files for convenience.
Create a "car" folder in the root of the "Assets" panel. In the future, in this folder, we will add geometry, textures and materials related to our car.
Let's add the body of our car to PlayCanvas. To do this, simply drag "SM_CarExterior.fbx" into the "Assets" panel, into the "car" folder.
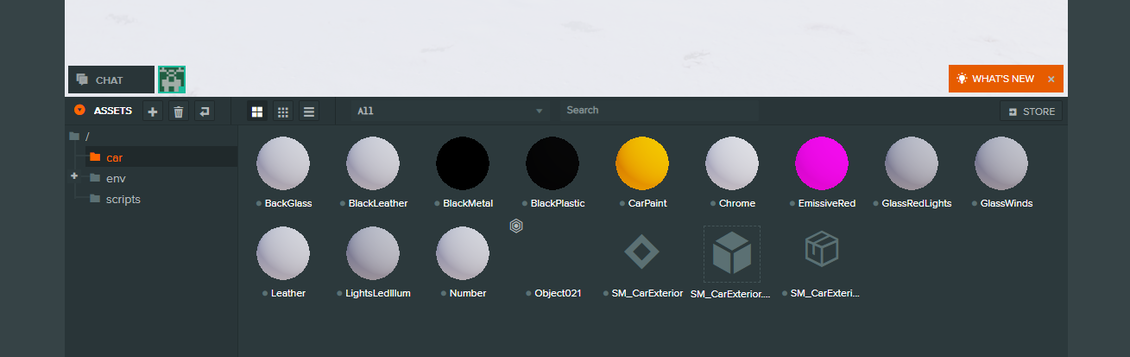
During the loading process, you will automatically have various assets, materials, "GLB" and "Template" created.
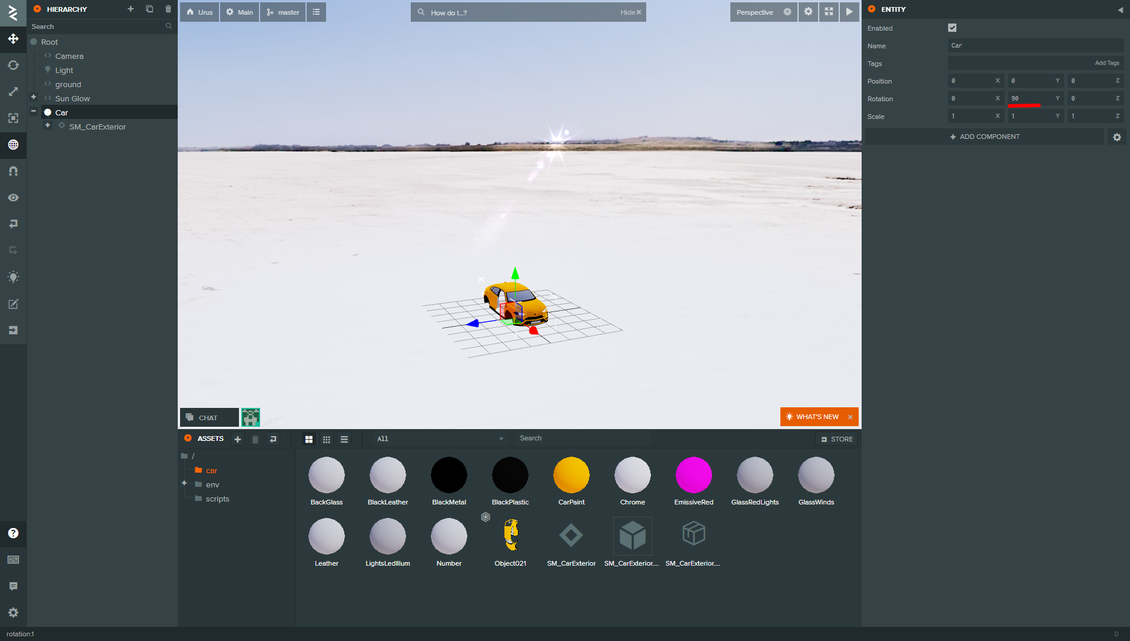
Before adding a car exterior to the scene, you must first create an empty "Entity". This will serve as a container in which we will add other parts of the model.
Create "Entity" in "Hierarchy" panel, name it "Car". Then drag "Template" named "SM_CarExterior" to "Entity" - "Car".
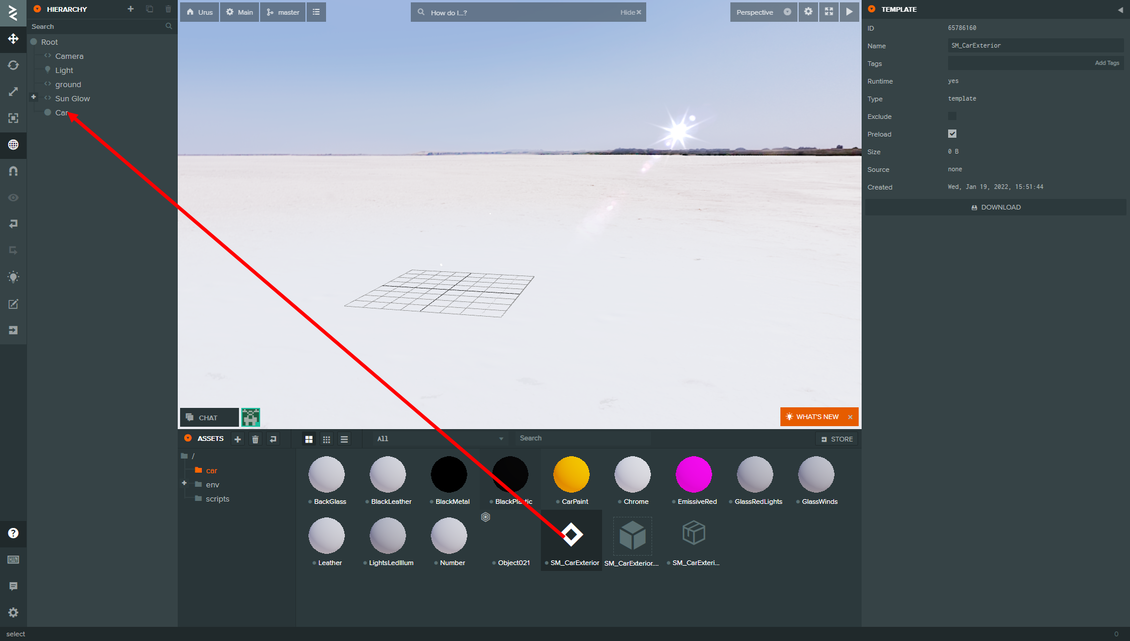
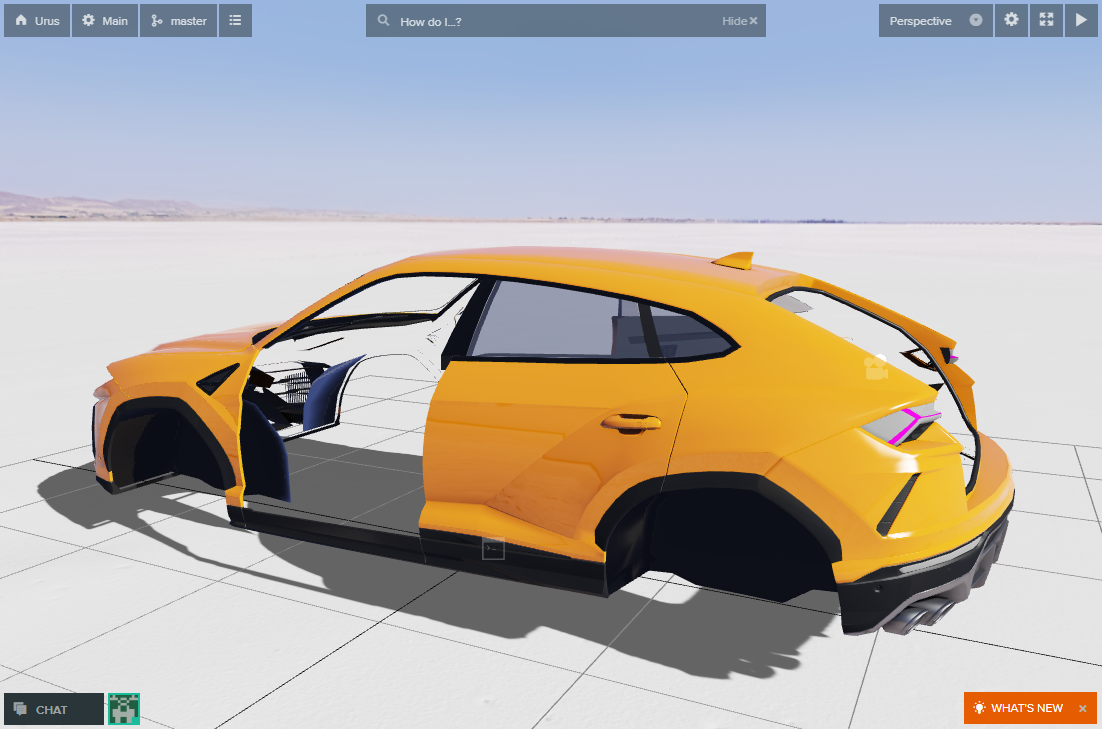
The car body should appear in the Viewport.
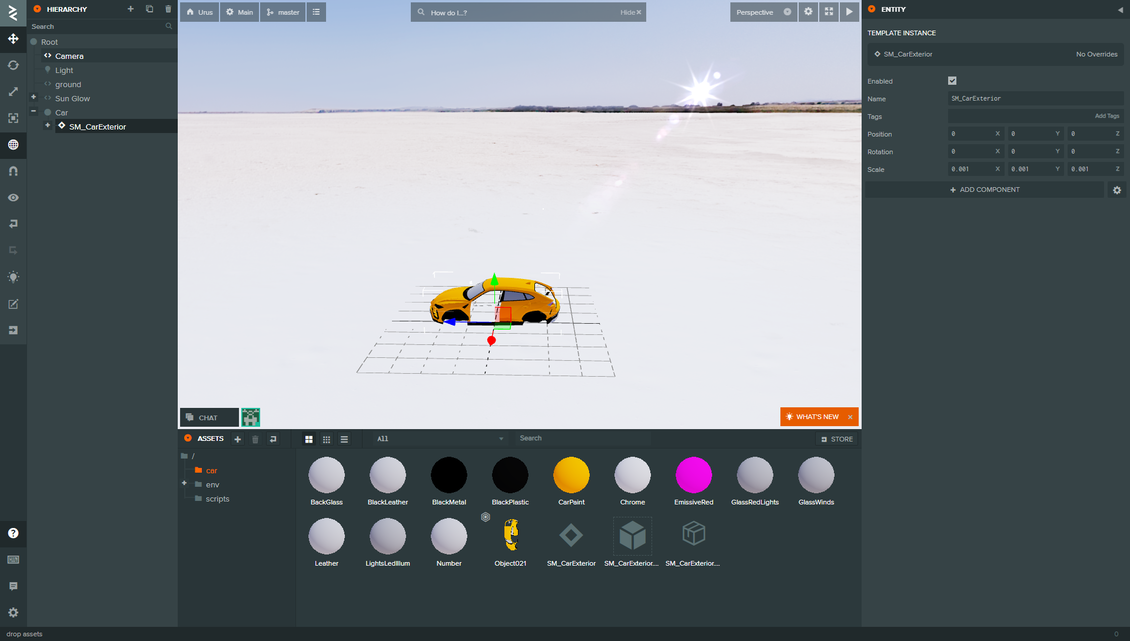
Let's rotate "Entity" - "Car", by 90 degrees along the Y axis.
When adding other parts to the scene, namely "Entity" - "Car", additional torsion is not needed for the objects.
Material setup
Material CarPaint

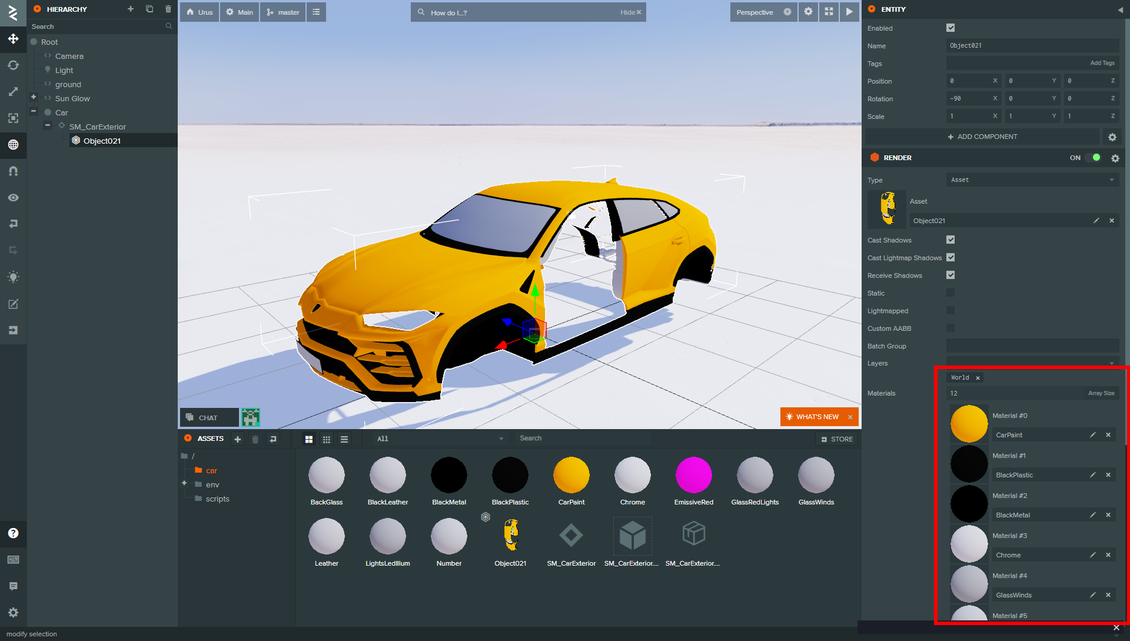
Select an object in the Viewport, in the "Inspector" panel, you will see the materials belonging to the body of our car. Let's start with the first material - this is "CarPaint".
Click on "CarPaint" in the "Inspector" panel to open the material editor. Immediately rename the material to "M_CarPaint_Exterior".
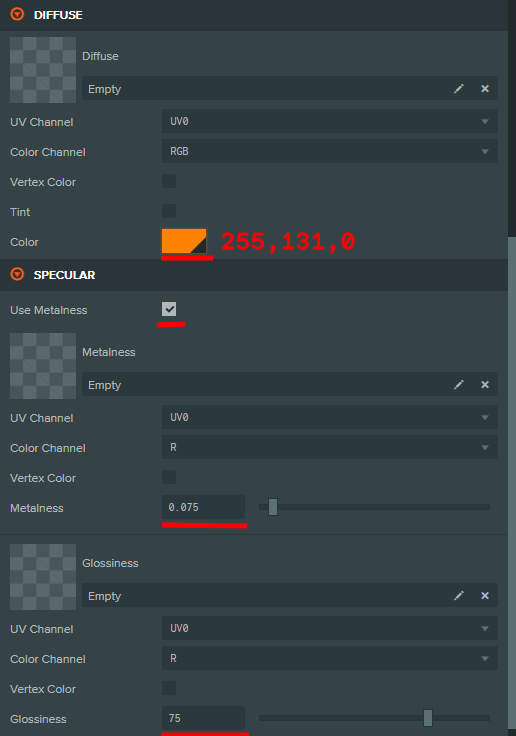
Change the settings "Specular" and "Diffuse" as in the screenshot above.
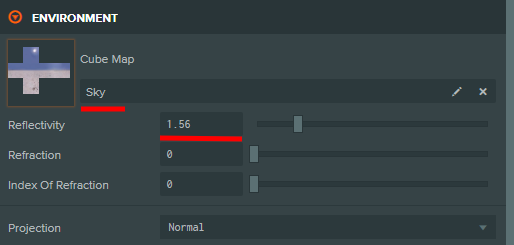
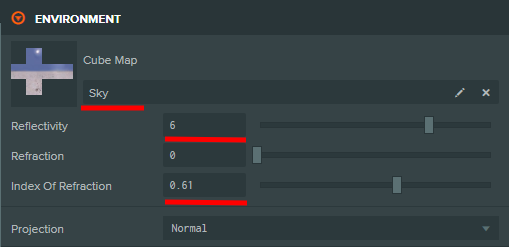
Go to the "Environment" scroll, next to the "CubeMap" parameter, click on the pencil icon and select "CubeMap" - "Sky" in the "Assets" panel, in the "env → cubemap" folder ". During selection, you can navigate to subfolders. Set the value of "Reflectivity" to "1.56".
And the final touch, let's add the "AO" map. Load it first into the "car" folder, then add it to the "Ambient" rollout. Below is an example of the "Ambient Occlusion" texture we are using.

In addition to connecting the map, enable the "Tint" checkbox, set "Color" to "180,180,180" and the blending mode to "Multiply".
The result we got.
Material BlackPlastic

Let's move on to the next material. Select the car exterior in the Viewport, open the "BlackPlastic" material in the "Inspector" panel, rename it to "M_BlackPlastic".
Turn off the "Apply To All Maps" checkbox in the "Offset & Tiling" rollout.

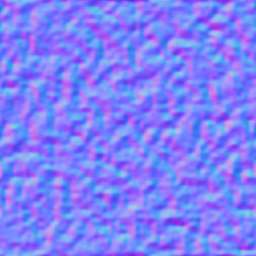
Load the "Noise" texture. Immediately assign it in the "Normals" rollout with "Bumpiness" equal to "0.1" and "Tiling" equal to "200" and "200".
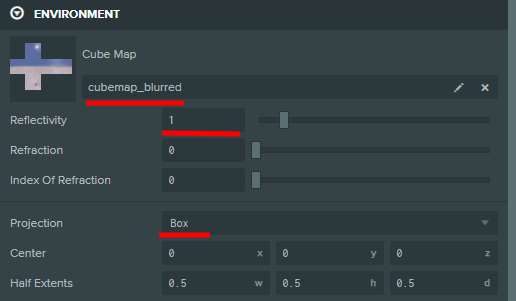
In the "Environment" rollout, assign our "cubemap_blurred" as "CubeMap". Set "Reflectivity" value to "0.4".
"Projection" set to "Box" mode. "Box" mode - imposes reflections in a different way, which gives an interesting effect.

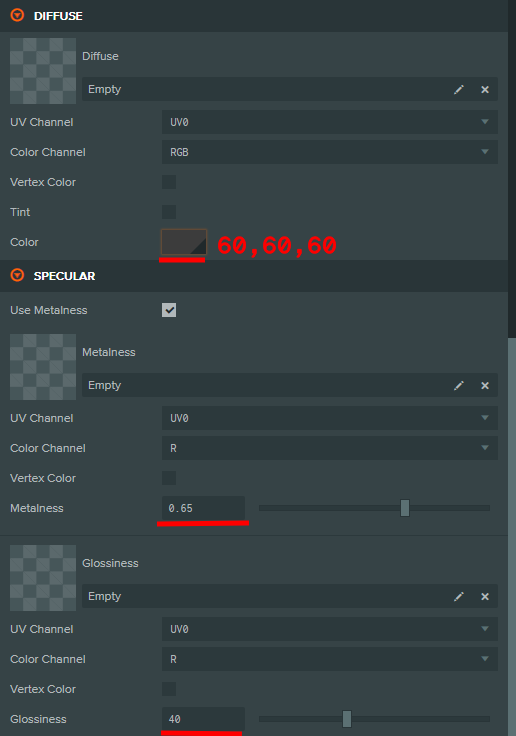
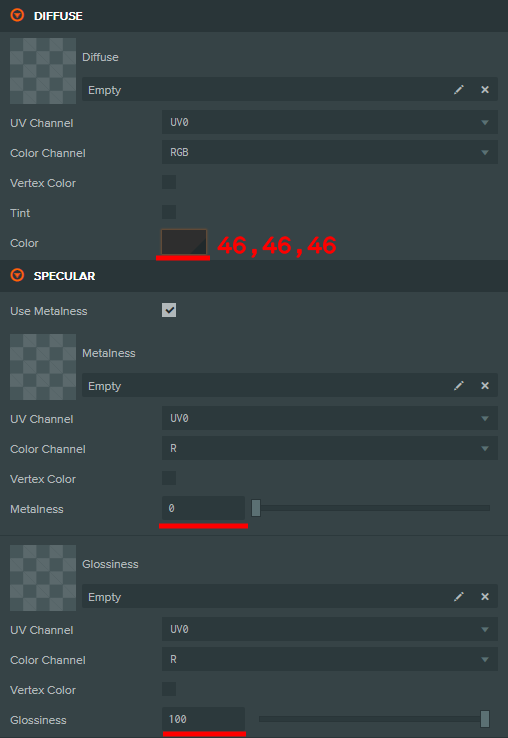
For "Diffuse" and "Specular" set the values as in the screenshot below.
The result we got.

Material BlackMetal


The result we got.

Material Chrome_Exterior


Assign "Ambient" texture "AO", from "Assets" panel - "T_Exterior_AO.png", blending mode "Multiply", with "Tint" enabled and color "0, 0.0".
Here is the result.

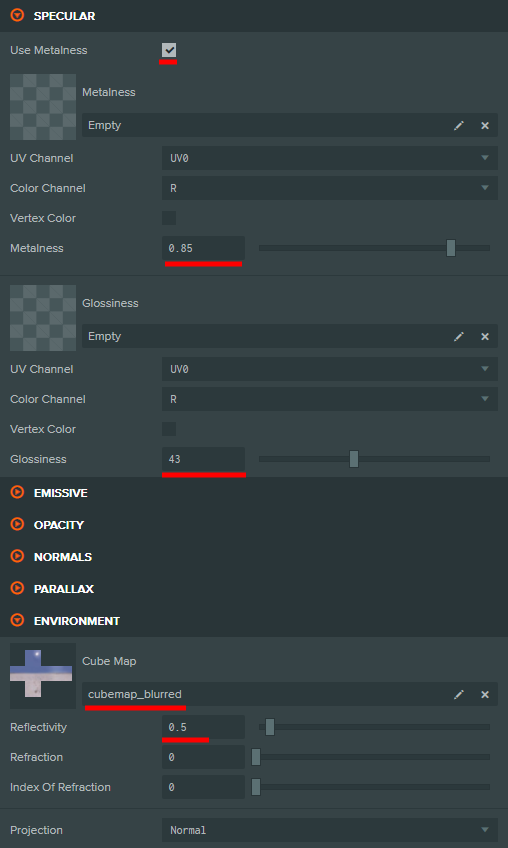
Material GlassWinds
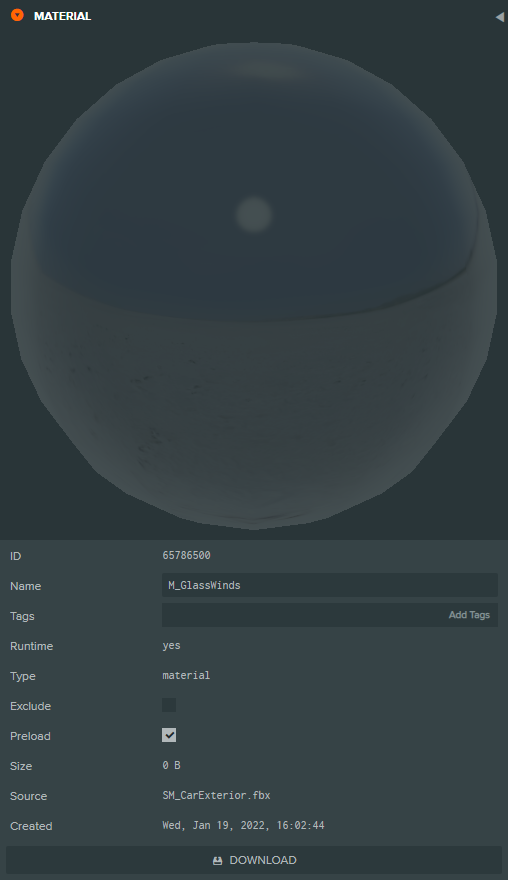
Result.

Material FrontGlass
he sixth material we have is responsible for the front glass. Let's name it like "M_FrontGlass". In the model, it is named a little differently, that's okay.


Assign the transparency map "T_BackGlassInverted" to the "Opacity" slot. Further settings, as in the screenshot below.

Result.

Conclusion
In the next part of the tutorial, we will continue to set up materials for the "SM_CarExterior" object.


{{comment.text}}